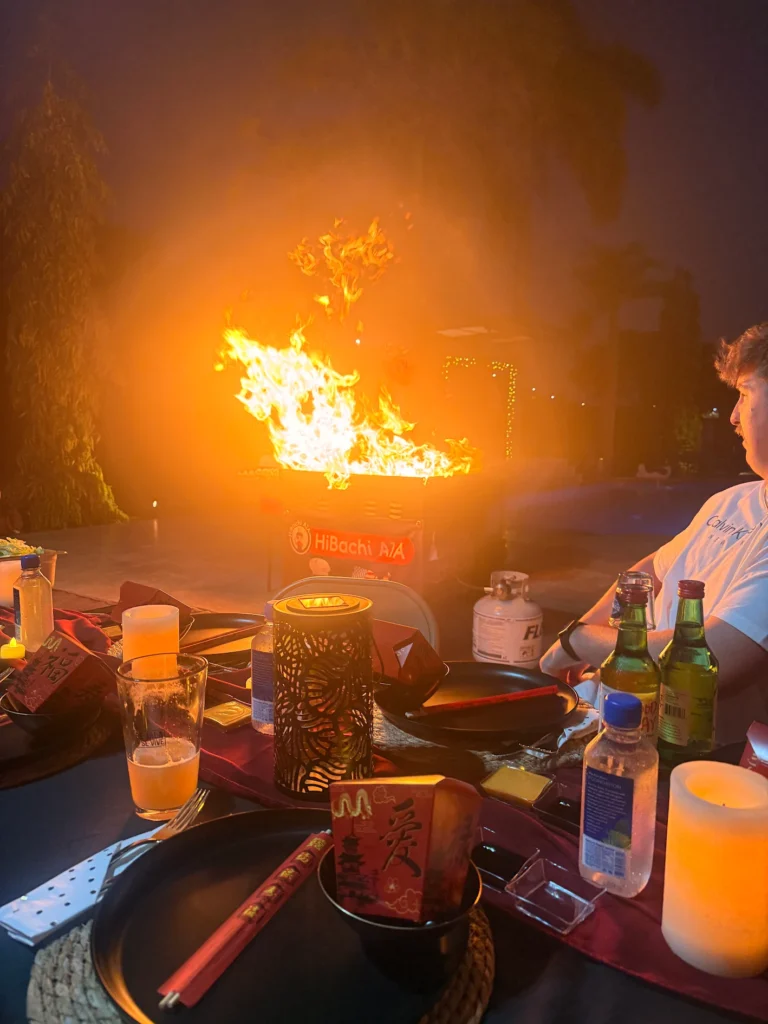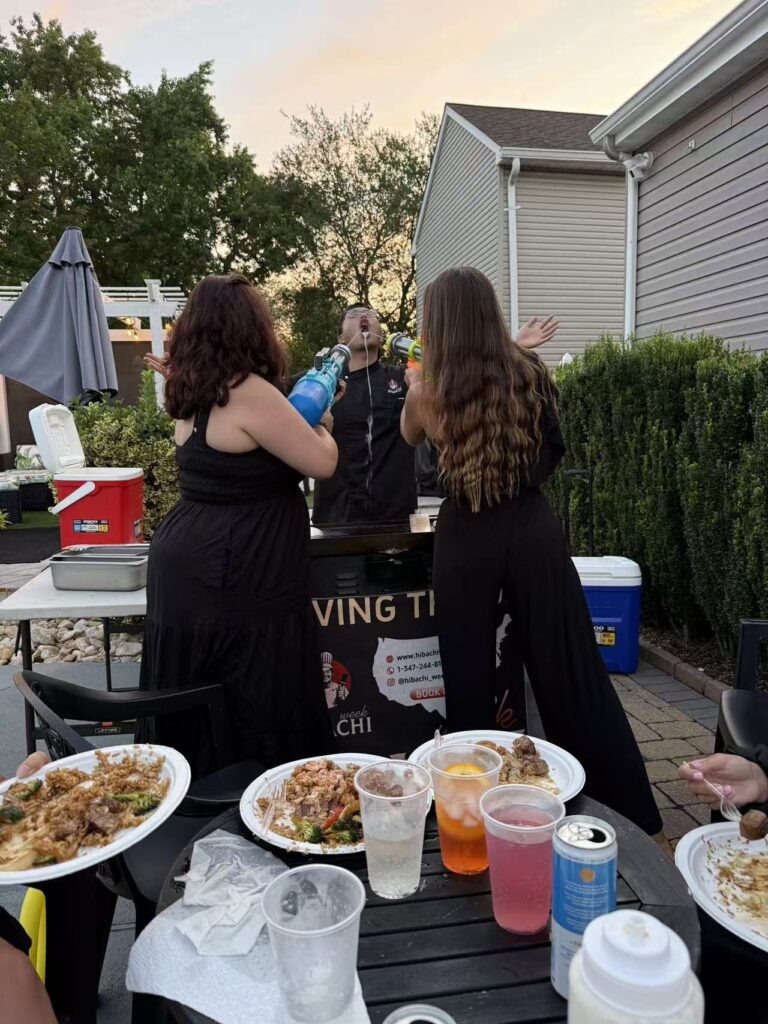
There’s something undeniably magical about the sizzle of a hibachi grill—the rhythmic clatter of spatulas, the aromatic clouds of garlic butter, and the theatrical flare of a skilled chef flipping shrimp tails into their hat. At Hibachi A1A, our mobile catering chefs have spent years perfecting this art in backyards, weddings, and corporate events across Florida. Now, we’re sharing our insider secrets so you can recreate that same restaurant-quality hibachi cooking in your own kitchen—or better yet, on your own outdoor griddle.
Essential Equipment: Start With the Right Gear
The Flat-Top Griddle Is Non-Negotiable
While a standard barbecue grill can work in a pinch, true hibachi cooking demands a flat, even cooking surface. A blackstone griddle or a dedicated tabletop hibachi is ideal because it allows you to control heat zones and cook multiple ingredients simultaneously without cross-contamination. At Hibachi A1A, we use commercial-grade steel tops that hold heat evenly, but for home cooks, a portable butane burner with a steel plate is a fantastic entry point. Avoid nonstick pans—they can’t handle the high heat needed for proper searing.
Tools of the Trade: Spatulas, Squeeze Bottles, and Squirt Guns
Professional hibachi chefs rely on two flat metal spatulas—one to chop, flip, and scoop, and the other to press and shape. At home, a single sturdy turner works fine, but add a small squeeze bottle for soy sauce and another for water (to control flare-ups). A pair of long tongs and a heatproof scraper are also invaluable. And yes, you can skip the onion volcano tower until you’ve practiced. Safety first.
Ingredient Prep: The Foundation of Great Hibachi
Protein: Slice Thin, Marinate Briefly
Our chefs at Hibachi A1A always cut proteins like beef, chicken, or shrimp into thin, uniform pieces—ideally ?-inch thick. This ensures quick, even cooking. For beef, use ribeye or sirloin; for chicken, boneless thighs stay juicier than breasts. A simple marinade of soy sauce, mirin, garlic, and a touch of sesame oil for 15 minutes is all you need. Over-marinating can make the meat mushy, especially with high-acid ingredients like lemon.
Vegetables: Cut for Equal Cooking Time
Zucchini, onions, mushrooms, and bell peppers are hibachi staples. Dice them into similar-sized pieces (about 1-inch cubes) so they cook at the same rate. Pro tip from our mobile catering team: Par-boil broccoli and carrots for 2 minutes before griddling—they’ll stay tender-crisp without burning. Always pat vegetables dry to avoid steaming instead of searing.
Rice and Noodles: Prep Ahead
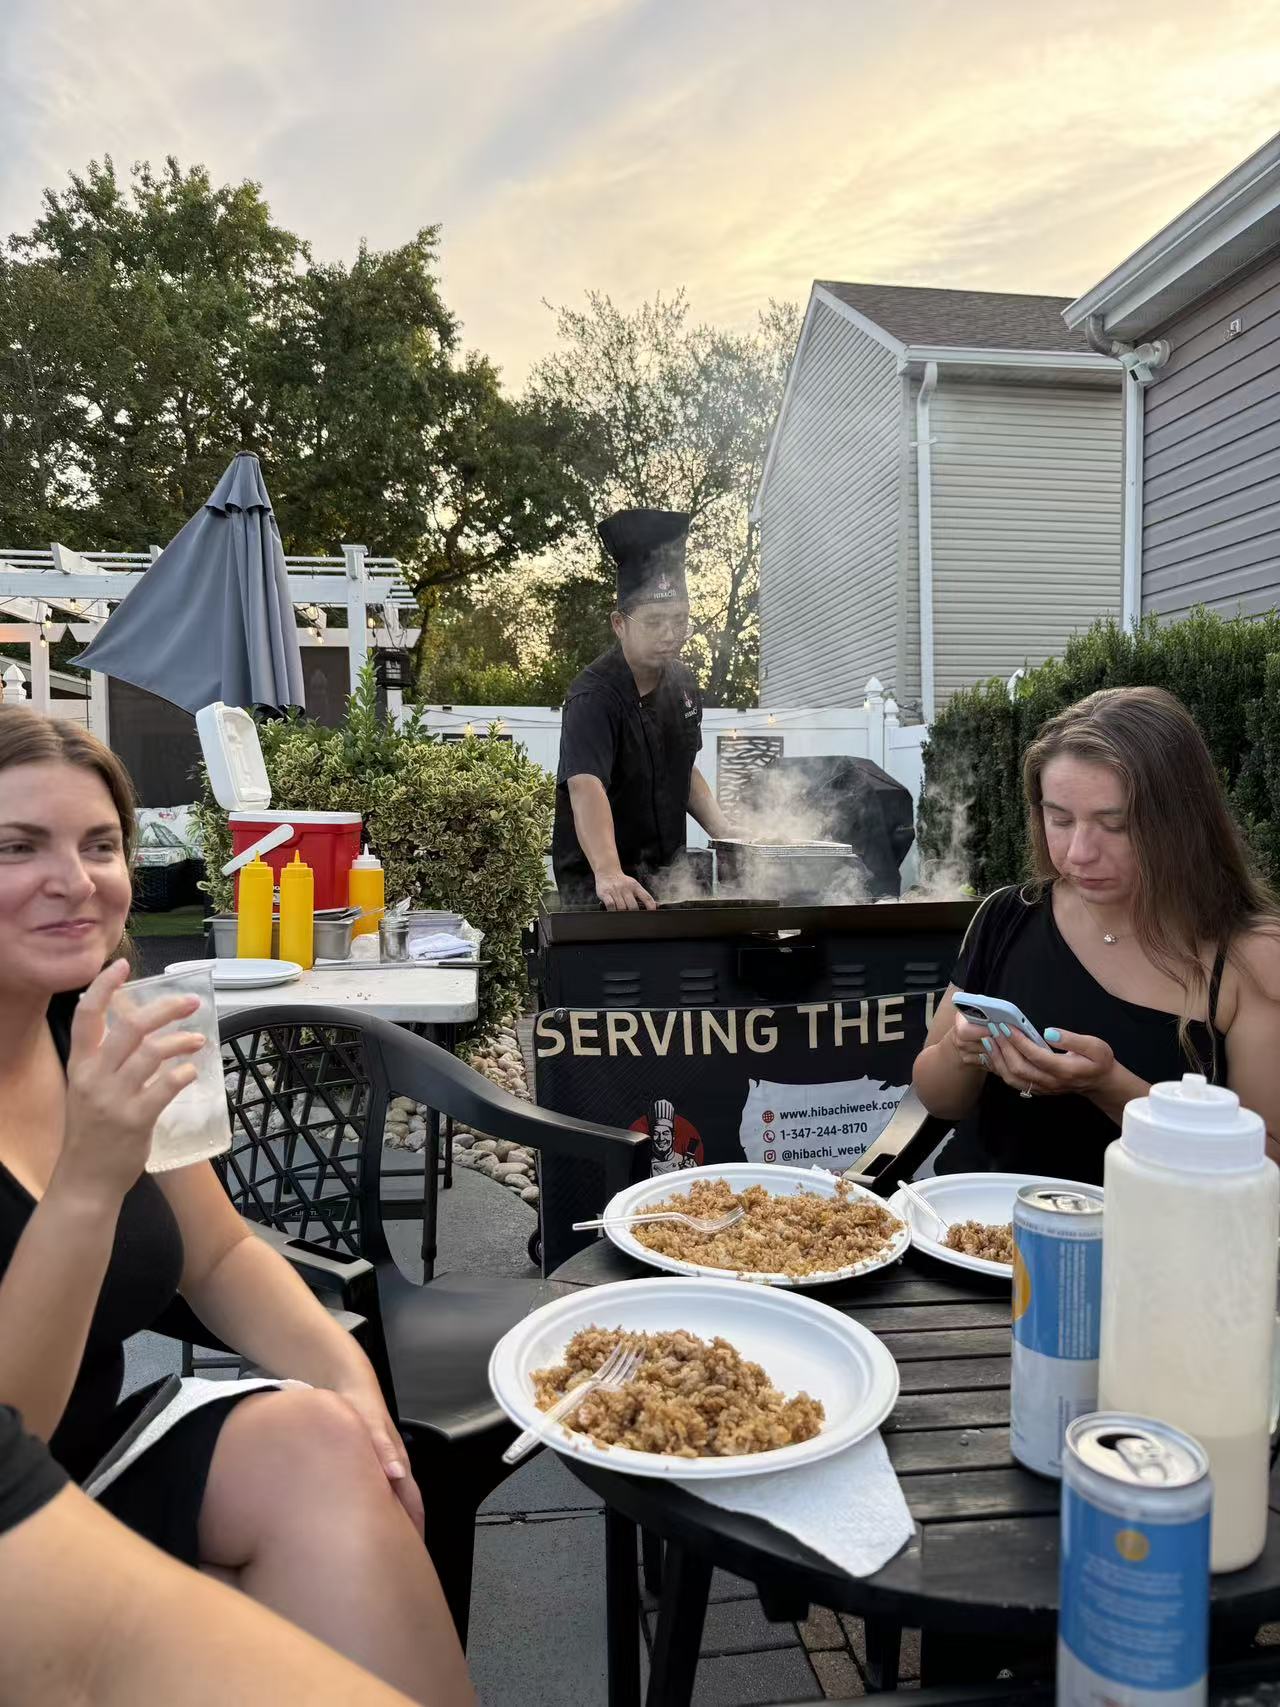
Hibachi fried rice is a crowd favorite. Use day-old, cold jasmine rice for the best texture; warm rice turns sticky. For yakisoba noodles, blanch them briefly, drain, and toss with a bit of oil to prevent clumping. Have all your components ready in a mise en place arrangement—just like we do on our mobile catering truck before a show.
Heat Control: The Secret to That Smoky Sear
Zone Your Griddle Like a Pro
Divide your cooking surface into three temperature zones: high heat (for searing proteins), medium heat (for vegetables), and low heat (for resting cooked items or keeping rice warm). At Hibachi A1A, we use a infrared thermometer to check surface temps—around 400–450°F (200–230°C) for meat, and 325°F (160°C) for veggies. If you don’t have a thermometer, flick a drop of water; if it dances and evaporates instantly, you’re ready.
The Oil Test
Don’t pour oil directly onto the griddle. Instead, dip a folded paper towel in high-smoke-point oil (like avocado or grapeseed) and carefully wipe the hot surface. This creates an even, non-stick layer. Never use olive oil—its low smoke point will burn and taste bitter. Our chefs always keep a spray bottle of water nearby to tame flare-ups caused by fatty drippings.
Cooking Techniques: Move Like a Hibachi Chef
The Scoop-and-Flip Method
For vegetables, use a sharp, decisive motion with your spatula to toss them in the air—but start small. Practice flipping a single piece of onion before attempting a full stir-fry. The key is to pick up, not push: slide the spatula under the food, lift slightly, then flick your wrist upward. Our crew at Hibachi A1A teaches this by first chopping ingredients on the griddle (like dicing a zucchini while it sizzles) to build muscle memory.
Building Flavor in Layers
Hibachi magic comes from sequential cooking. Cook protein first, remove it to the low-heat zone, then vegetables on medium, and finally rice or noodles in the flavorful fond left behind. Deglaze the griddle with a splash of soy sauce and sake (or dry sherry) between each step to incorporate those caramelized bits. Never overcrowd—if the griddle is packed, food steams instead of sears.
The Butter Basting Finale
At the end, a tablespoon of butter melted over the protein and vegetables creates that signature glossy finish. Add a squeeze of lemon and a sprinkle of furikake (Japanese seasoning) or toasted sesame seeds. Our chefs like to finish with a quick butter-soy glaze by mixing equal parts melted butter and soy sauce, then brushing it over the entire dish.
Common Mistakes Home Cooks Make (and How to Avoid Them)
Using Too Much Sauce Early
New homes often drown everything in teriyaki sauce before cooking. This sugar-heavy sauce burns easily and masks the natural flavors. Instead, add sauce only in the last minute of cooking. Hibachi A1A’s rule: season with salt and pepper first, then finish with a light drizzle of homemade hibachi sauce (soy, garlic, ginger, and a touch of honey).
Fiddling With Food Constantly
Letting meat and vegetables sit undisturbed for 1–2 minutes creates a beautiful crust. Constant stirring prevents caramelization. Trust the sizzle—when the food releases easily from the griddle, it’s ready to turn.
Ignoring Steam Management
Hibachi cooking is a dance between dry heat and controlled steam. If you add too many wet vegetables at once, the griddle temperature drops and everything boils. Work in batches, and keep a small bowl of water handy to douse the griddle after each batch (this creates a quick steam burst that lifts stuck bits without cooling the surface too much).
Presentation: Serve Like a Show
The Classic Hibachi Platter
Arrange your cooked items on a large rectangular plate: protein in the center, vegetables on one side, and rice or noodles on the other. Drizzle with the remaining sauce and garnish with green onions and pickled ginger. For an authentic touch, serve with yum yum sauce (a creamy, tangy pink sauce) and ginger dipping sauce on the side.
Incorporate the Theatrics
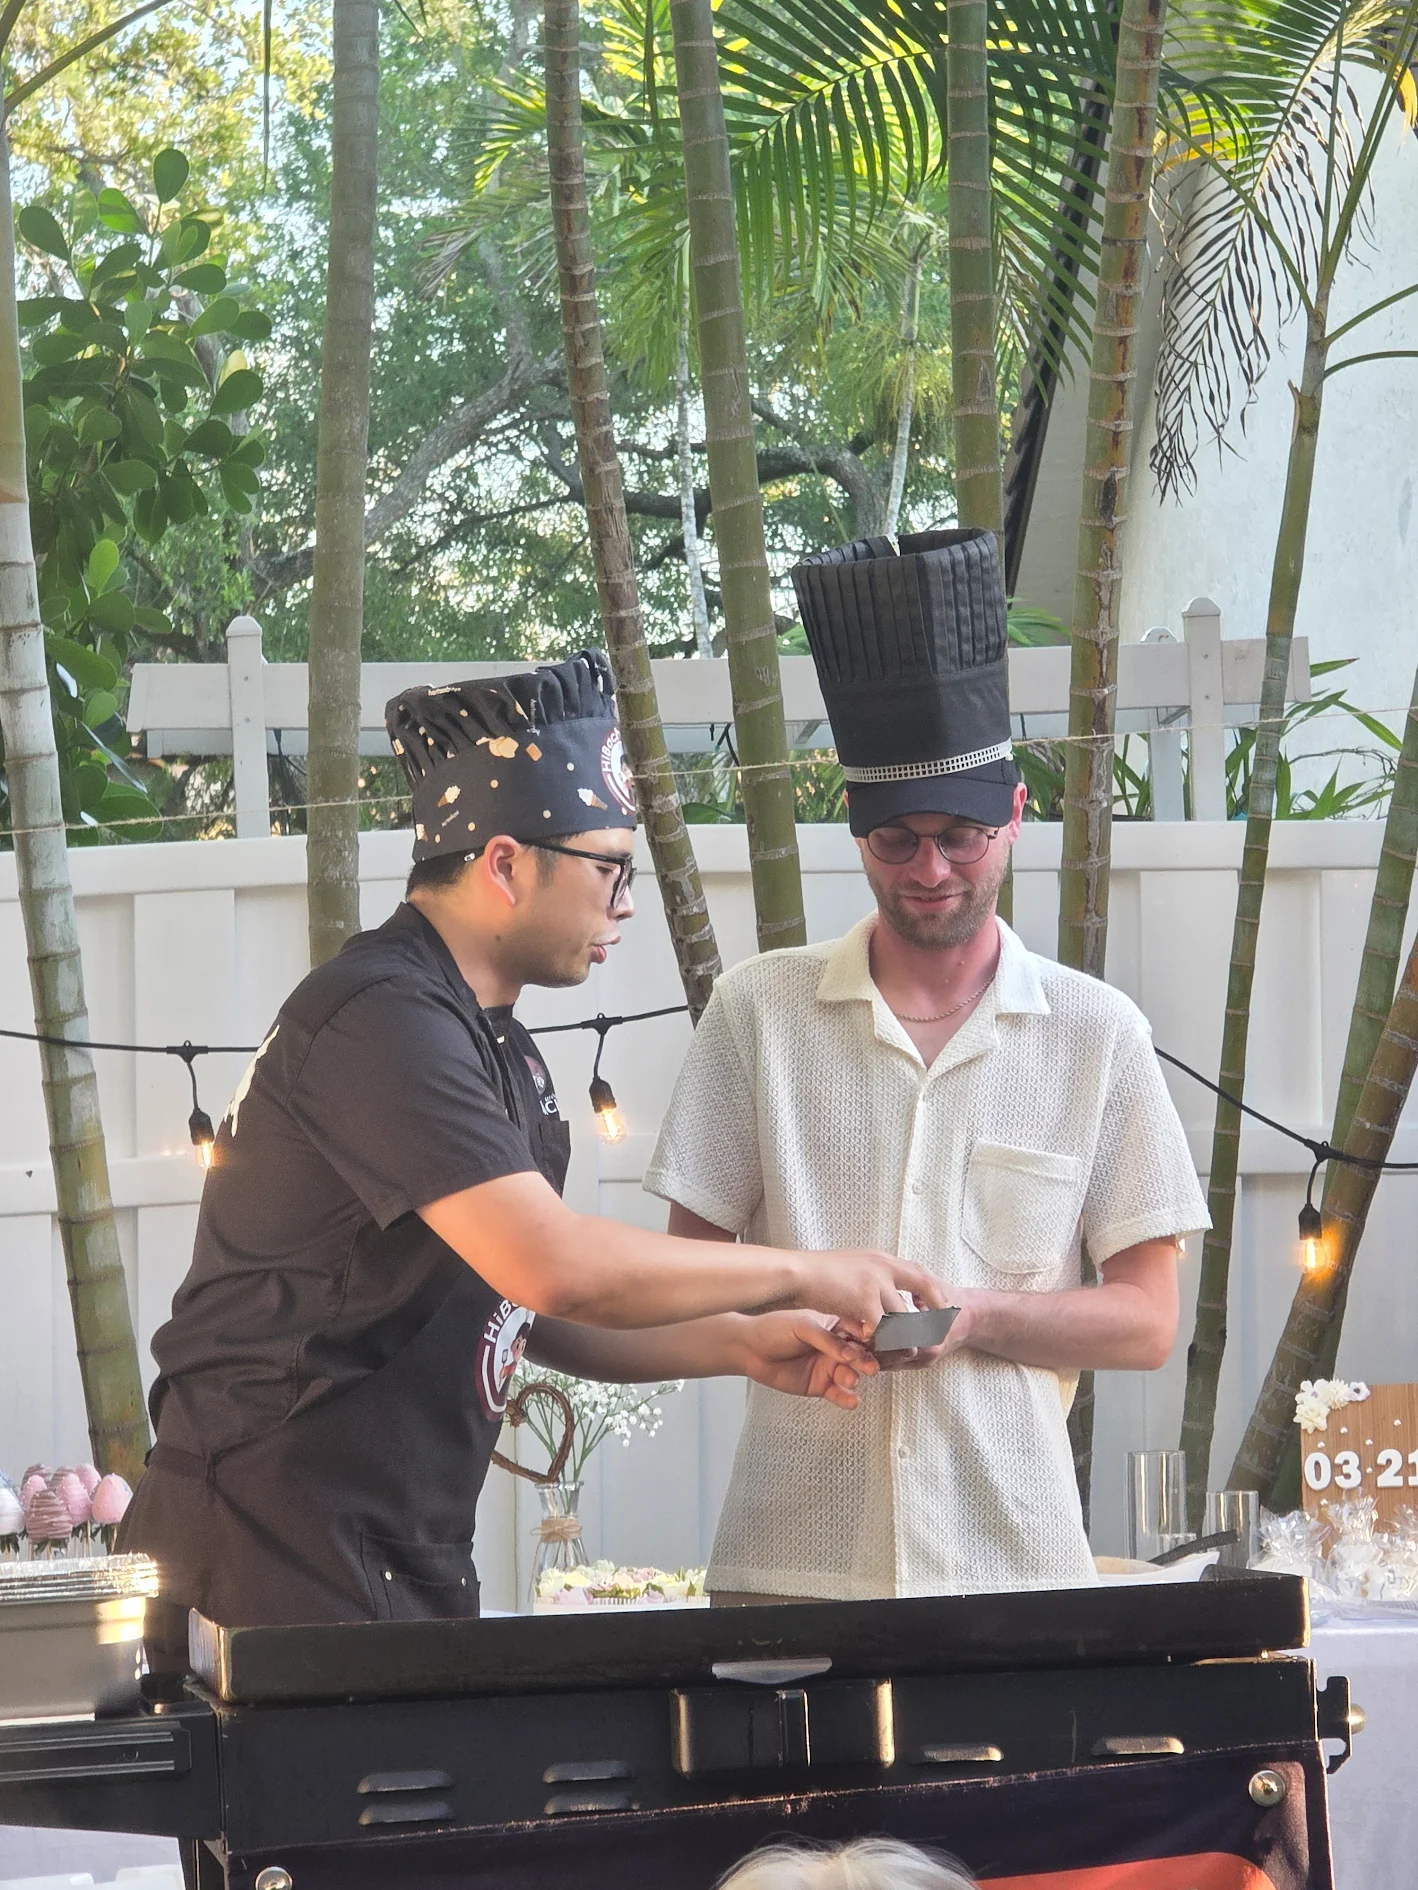
Even at home, you can add a little fun. Use a squeeze bottle to draw a smiley face with sauce on the griddle, or flip a single shrimp into a waiting bowl. Our Hibachi A1A chefs always encourage home cooks to invite guests to watch—the sounds and smells are half the experience.
From Our Griddle to Yours
Hibachi cooking at home doesn’t require a culinary degree or a dozen years behind a mobile catering station—just the right tools, fresh ingredients, and a willingness to embrace the sizzle. At Hibachi A1A, we’ve seen hundreds of backyard chefs transform into grill masters by following these simple principles: thin cuts, high heat, clean zones, and confident movements.
So fire up that griddle, practice your chop-toss (over a pan at first), and remember that every flip is a lesson. Whether you’re cooking for family or impressing friends, the hibachi experience is about bringing people together around a hot, shared surface. And if you ever want a pro to take over, you know where to find us—we’re just a call away, ready to roll our mobile kitchen to your next event. Until then, keep grilling and keep grinning.